

You’ll prevent costly repairs by systematically addressing seven critical phases. Start with site assessment to evaluate soil and drainage, then establish proper grading with slopes directing water away from your foundation. Prepare your base through compaction to 95% soil density, select concrete with adequate strength (3,500-4,000 PSI), install formwork precisely, pour and cure properly for seven days minimum, and schedule inspections every six months with sealant applications every 2-3 years. The details behind each checkpoint reveal why skipping steps leads to expensive rework.
Expert Highlights
- Evaluate soil conditions, drainage patterns, and site accessibility before beginning any concrete driveway installation work.
- Establish proper grading with 1-2% slope and install base preparation with 95% soil density compaction.
- Select concrete mix with 3,500-4,000 PSI strength, appropriate water-cement ratio, and air entrainment for durability.
- Install formwork with sturdy stakes every 3-4 feet and ensure reinforcement placement before pouring concrete.
- Cure concrete for minimum 7 days, then schedule regular inspections and apply sealant every 2-3 years.
Site Assessment and Planning
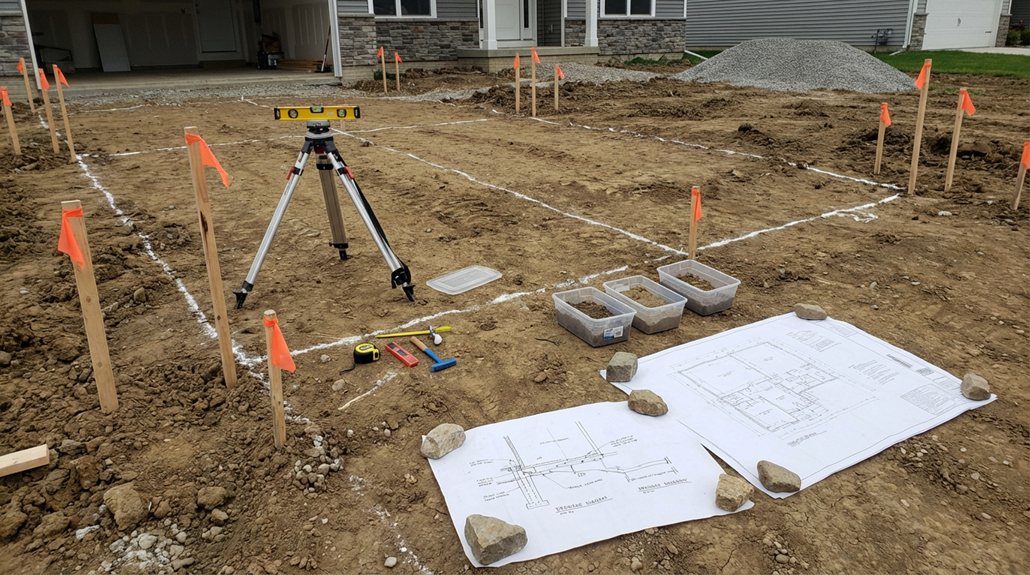
Before you pour a single yard of concrete, you’ve got to understand what you’re working with—and that’s where site assessment comes in. You’ll evaluate soil conditions first, checking whether you’ve got clay, sand, or rocky terrain underneath, because the wrong foundation spells disaster later.
Next, verify accessibility requirements by measuring gate widths, checking overhead clearances, and confirming equipment can actually reach your driveway location. Poor soil drainage causes cracking; blocked access prevents machinery delivery.
Smart contractors investigate these factors upfront, preventing expensive rework and ensuring your driveway lasts decades.
Drainage Design and Grading
Why does water pooling on your driveway matter so much? Standing water destroys concrete through freeze-thaw cycles and accelerates cracking.
You’ll need proper grading—a subtle slope directing surface runoff away from your home’s foundation. We’re talking about 1-2% grade minimum. Consider soil permeability too; poor drainage beneath your driveway causes settling and upheaval.
You’ll want crown your driveway’s center, sloping toward edges. Add swales or French drains if your yard’s naturally flat. This investment prevents costly repairs and protects your foundation from water damage and flooding risks.
Base Preparation and Compaction
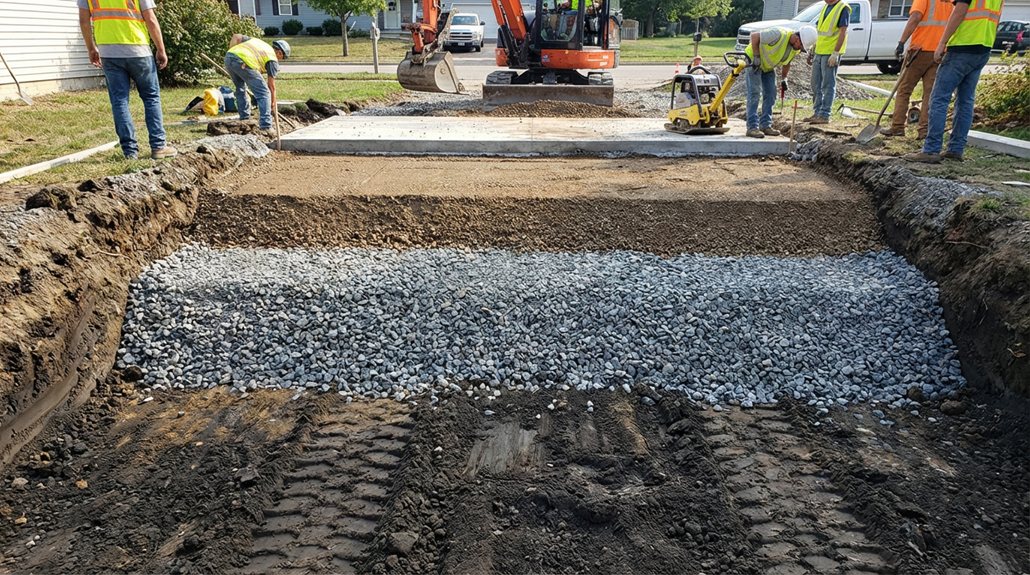
Before you pour concrete, you’ll need to assess your soil type and drainage patterns through careful analysis, because inadequate base preparation causes cracking, settling, and premature failure that’s expensive to repair.
You should establish proper grading with a slight slope—typically 1-2% away from structures—using compaction equipment like plate compactors or vibratory rollers to achieve 95% soil density, which prevents water pooling and secures a stable foundation. This foundation work directly determines your driveway’s longevity and performance, so investing time in thorough base preparation safeguards your investment and eliminates costly problems down the road.
Soil Assessment and Analysis
A strong concrete driveway’s foundation depends entirely on what’s underneath it, which is why you’ll need to thoroughly assess your soil before you pour a single cubic yard of concrete. You’ll face serious problems if you skip this step—poor drainage, cracking, and costly repairs follow quickly.
Test your soil’s moisture content and bearing capacity to determine proper preparation methods. Identify clay, sand, or mixed compositions, as each requires different handling. Once you’ve analyzed the soil thoroughly, you’ll know exactly what compaction levels you need and how to prevent future foundation failure.
Proper Grading and Drainage
Once you’ve determined your soil composition and bearing capacity, the real work begins—establishing proper grading and drainage through base preparation and compaction, which’ll prevent water from pooling beneath your driveway and causing the concrete to crack, shift, or settle unevenly.
You’ll need a slight slope for runoff control, typically one-eighth inch per foot, directing water away from your home’s foundation. Compact your base material in four-inch layers using a plate compactor, ensuring ninety-five percent density.
Proper water diversion saves you thousands in repairs down the road, protecting your investment from moisture damage and maintaining structural integrity for decades.
Compaction Equipment and Techniques
Achieving that ninety-five percent density you’re aiming for requires the right equipment and a methodical approach, since inadequate compaction will undermine all the grading work you’ve just completed and leave your driveway vulnerable to settling and cracking within just a few years.
You’ll need compaction machinery like plate compactors or vibratory rollers tailored to your soil type. Employ soil compaction methods in multiple passes, working systematically across the entire base. Lighter equipment handles sandy soils, while heavier machinery tackles clay effectively. Proper compaction prevents costly future repairs, ensuring your driveway remains stable and intact for decades.
Concrete Material Selection and Mix Design
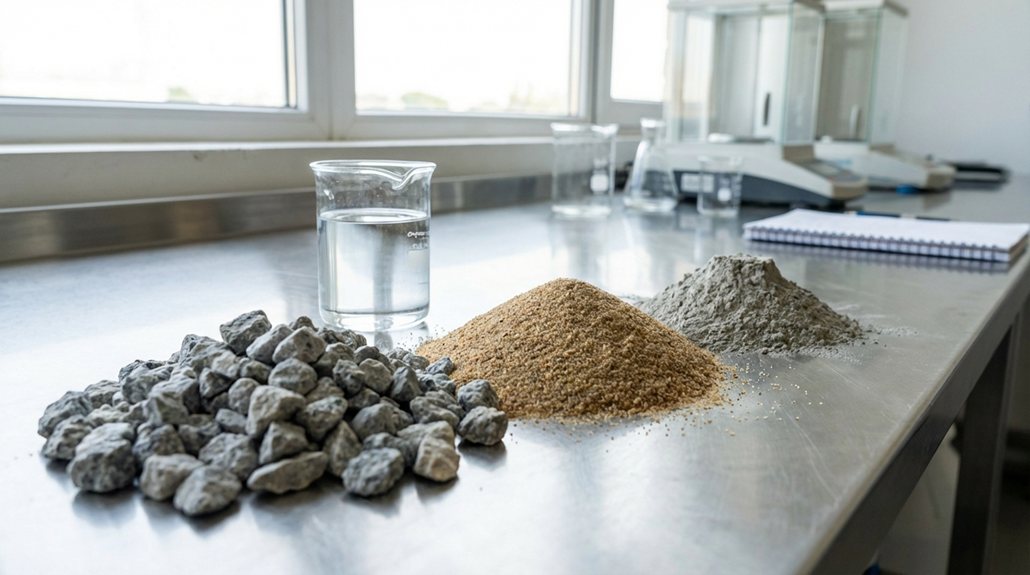
You’ll need to select the right concrete mix and materials because improper choices lead to cracking, surface deterioration, and costly repairs—issues that stem from weak concrete strength, poor aggregate gradation, or excessive water that weakens the cement bond. Your mix design depends on three critical factors: achieving adequate concrete strength (typically 3,500–4,000 PSI for driveways) through proper cement content, selecting well-graded aggregates that pack efficiently without voids, and maintaining an ideal water-cement ratio (usually 0.40–0.50) that balances workability with durability.
Concrete Strength and Durability
When you’re planning a driveway that’ll withstand years of vehicle traffic, freeze-thaw cycles, and harsh weather conditions, the concrete mix design becomes your foundation’s make-or-break decision. You’ll want concrete with high compressive strength—typically 3,500 to 4,000 PSI—ensuring it resists cracking under weight.
A concrete slump test measures workability; you’re aiming for 4-6 inches of slump for proper installation. Adding air entrainment creates tiny bubbles that protect against freeze-thaw damage. You’re fundamentally building insurance into your driveway.
Stronger concrete means fewer repairs, longer lifespan, and better protection against salt, oil, and seasonal stress.
Aggregate Selection and Gradation
The aggregates you choose—the sand, gravel, and stone that make up roughly 60-75% of your concrete mix—directly determine whether your driveway will resist cracking, withstand traffic loads, and maintain a stable surface for decades. You’ll want to guarantee proper particle size distribution, which prevents voids and strengthens your concrete.
Avoid material contamination from dirt, clay, or organic matter that weakens bonds between particles. Testing aggregates before mixing catches problems early, saving you from costly repairs.
Quality aggregates create denser, more durable driveways that handle freeze-thaw cycles and heavy vehicles without deteriorating prematurely.
Water-Cement Ratio Optimization
Because concrete’s strength and durability depend heavily on how much water you mix with the cement, getting your water-cement ratio just right becomes one of the most critical decisions you’ll make during the mix design phase. Too much water weakens your concrete and causes cracking; too little makes it impossible to work with.
You’ll want to aim for a ratio between 0.40 and 0.60 for residential driveways. Use slump control techniques and admixtures to achieve workability without adding excess water, ensuring you get a durable surface that won’t crack under freeze-thaw cycles.
Formwork Installation and Layout
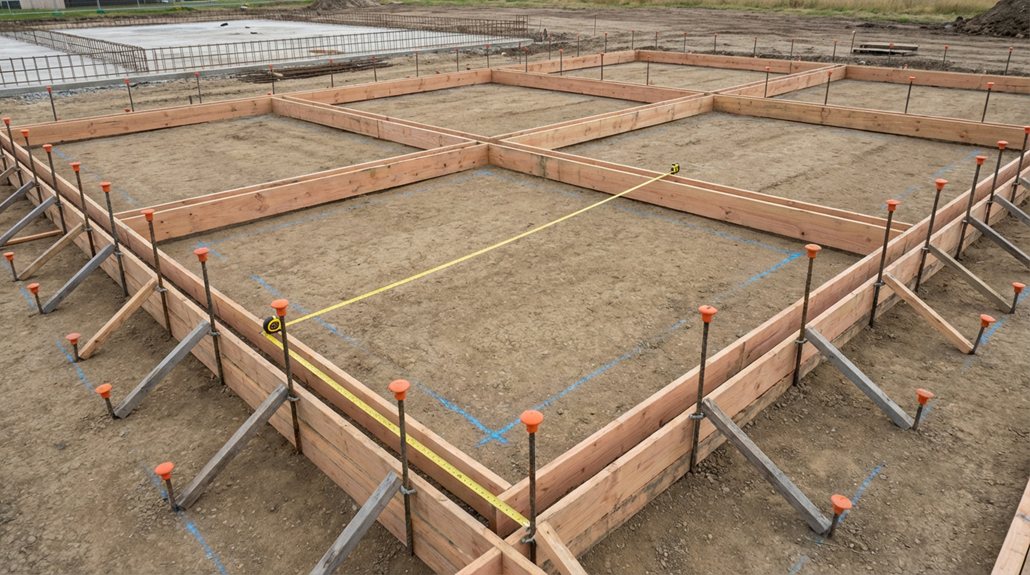
Proper formwork—the temporary wooden or metal framework that holds concrete in place while it cures—directly determines whether your driveway will be level, structurally sound, and built to the correct dimensions, so getting this step right prevents costly mistakes down the road.
You’ll use your formwork layout to establish precise edges and slopes that promote drainage. Install sturdy stakes every three to four feet, ensuring they’re driven deep into soil for stability. Concrete reinforcement like rebar needs proper positioning within this framework.
Check everything with a level before pouring; misaligned forms mean expensive removal and replacement later.
Pouring, Finishing, and Curing Techniques
Once you’ve got your formwork set and your rebar positioned correctly, it’s time to pour the concrete—and this is where careful execution makes the difference between a driveway that lasts decades and one that cracks, settles, or becomes uneven within a few years.
You’ll spread the mix evenly, using concrete finishing techniques like screeding and troweling to create a smooth, level surface. Next, implement proper concrete curing procedures: keep it moist for seven days minimum, which prevents premature drying and strengthens the material vastly, ensuring your investment withstands traffic and weather damage effectively.
Quality Inspection and Maintenance Guidelines
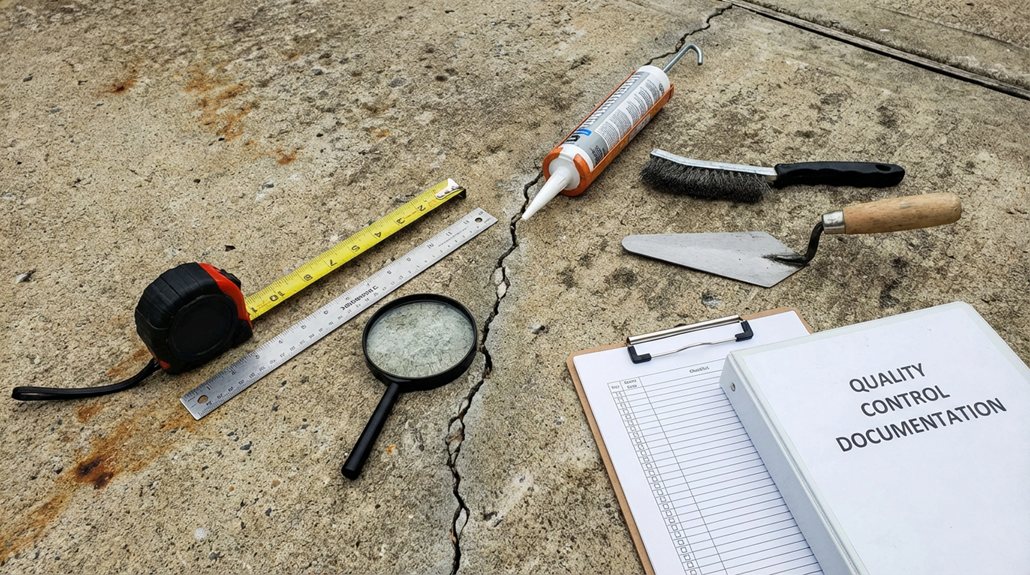
How can you guarantee your newly installed driveway preserves its strength and appearance for years to come? Start by inspecting cracks regularly—small hairline fractures become expensive repairs if ignored.
Monitor settlement, which occurs when the ground shifts beneath your concrete, causing uneven surfaces and potential damage. Schedule inspections every six months, checking for water pooling, which degrades the subbase.
Apply sealant every two to three years, creating a protective barrier against UV rays and chemicals. Address spalling (surface flaking) immediately to prevent deeper deterioration. These preventative measures cost considerably less than replacing a compromised driveway.
Frequently Asked Questions
How Much Does a Professional Concrete Driveway Installation Typically Cost?
You’ll typically spend $3,000 to $10,000, though factors influencing cost—like size, location, and whether you’re replacing existing concrete—can make your wallet cry harder. Average cost range? Prepare yourself accordingly.
What Is the Ideal Weather Condition for Pouring Concrete Driveways?
You’ll want that ideal temperature range between 50-85°F—Mother Nature’s sweet spot. Skip rainy days; precipitation considerations mean you’re basically pouring money down the drain if it rains before the concrete sets. Patience pays off!
How Long Should Homeowners Wait Before Driving on Newly Installed Concrete?
You’ll want to wait seven days before driving on your new driveway—that’s your ideal curing duration. Yeah, I know it’s torture, but concrete strength development needs time. Your impatience won’t speed physics up, friend.
What Permits or Licenses Are Required for Professional Driveway Installation?
You’ll need building permits and must check your local zoning regulations—basically, don’t be that neighbor who installs a concrete driveway and suddenly discovers you’ve violated three obscure codes. Your contractor should handle this bureaucratic fun.
Can Existing Asphalt Driveways Be Replaced With Concrete Without Removal?
You can skip the demo work! Concrete overlay options let you pour right over your asphalt. Just consider driveway resurfacing considerations—proper prep prevents your new concrete from cracking and becoming your most expensive regret.
Expert Final Thoughts
You’ve now got the roadmap to install a professional concrete driveway that’ll last for decades. By following each step—from evaluating your site to maintaining your finished surface—you’re preventing costly problems like cracking, settling, and premature deterioration. Your investment in proper planning, quality materials, and careful execution pays dividends through durability and curb appeal. You’re building something that works.